Artificial TurfSynthetic Sports Turf and Artificial Athletic Turf
Leading Artificial and Sports Turf Supplier for Nearly 20 Years
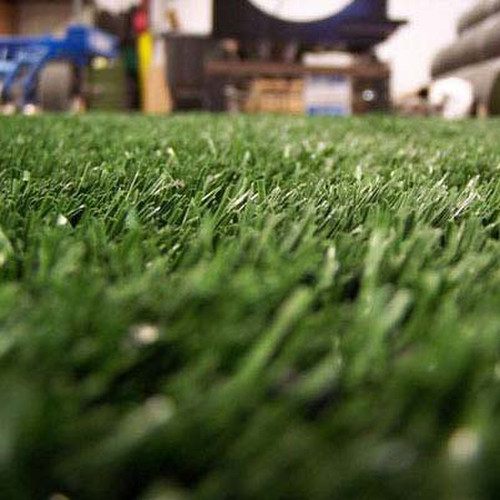
With nearly 20 years of experience, we're your trusted source for artificial turf and synthetic sports turf. We've supplied countless gyms, sports complexes, athletic facilities, and schools nationwide with realistic, durable turf solutions. Choose from our padded options for optimal athlete safety. Ideal for batting cages, backyards, and high-performance fields – our versatile artificial turf offers affordability and lasting quality.
Our artificial turf can be used for a wide range of home and commercial applications such as:
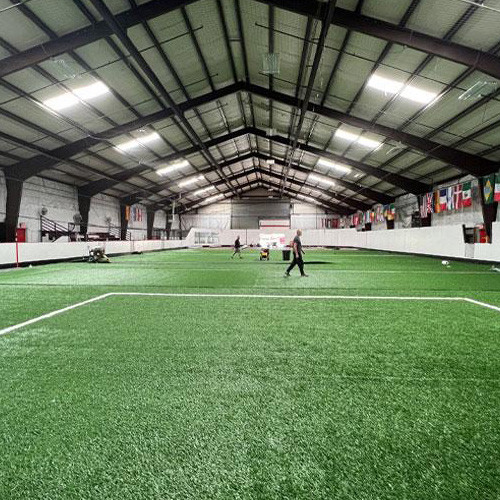
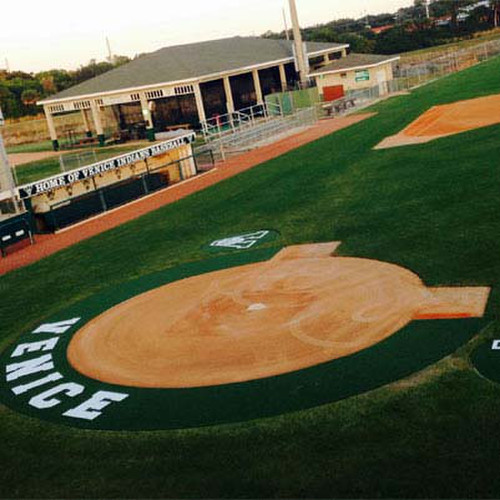
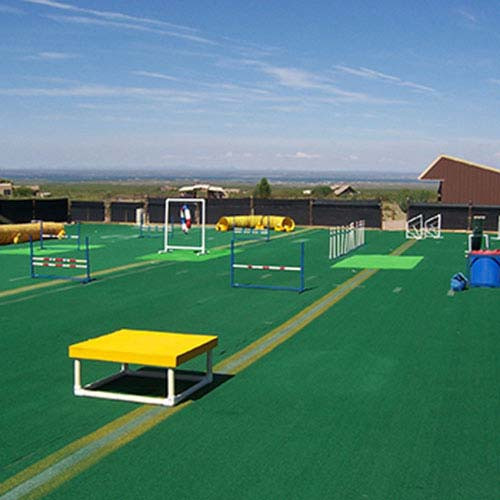
•Turf for Sports Complexes and Facilities
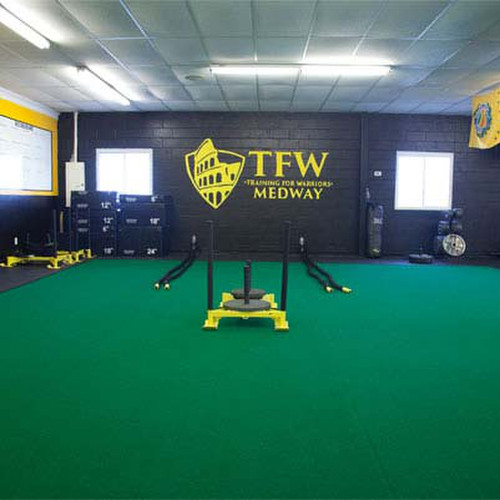
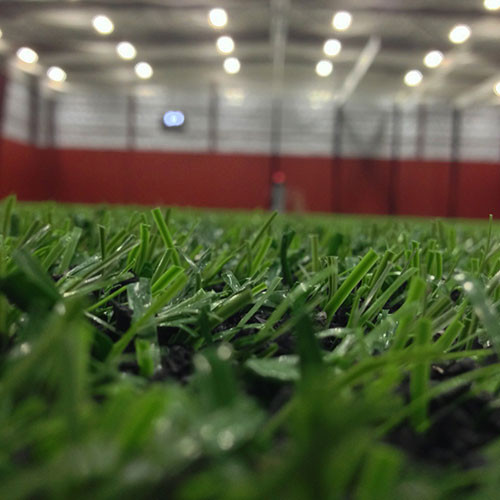
• Home Gyms & Indoor Fitness Centers
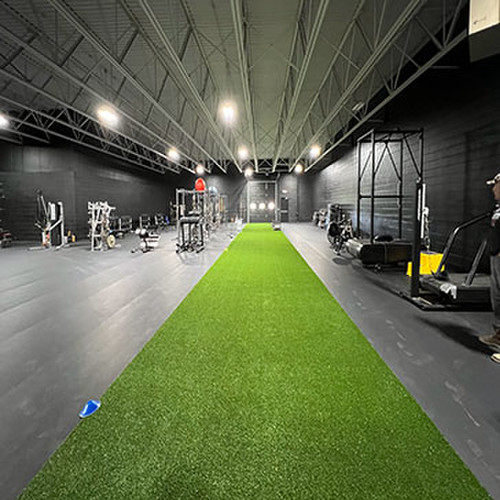
• Training Facilities
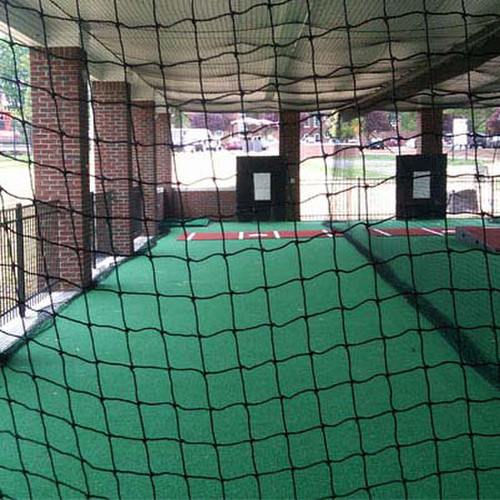
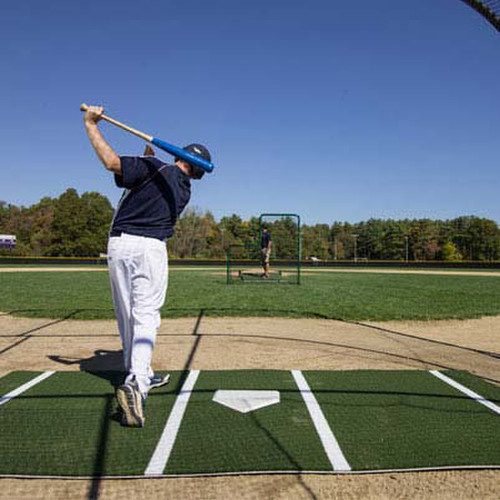
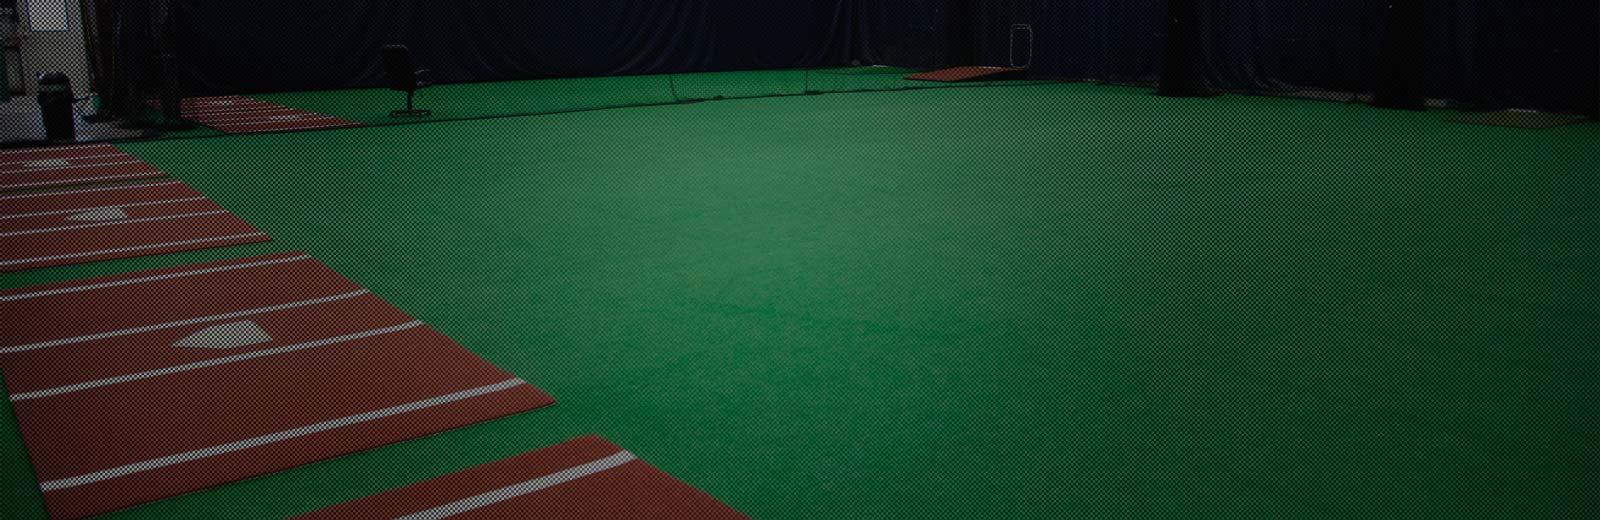
• Commercial & Home Batting Cages
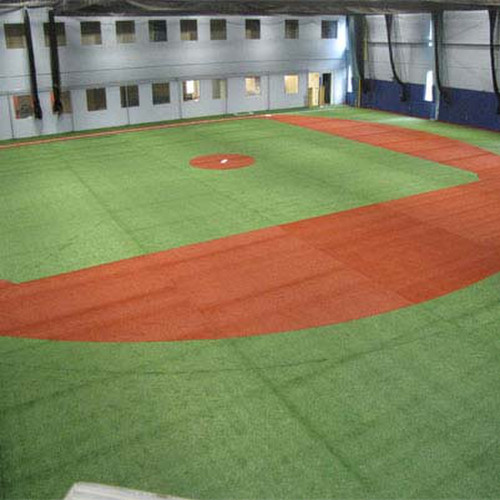
• Baseball & Softball Fields
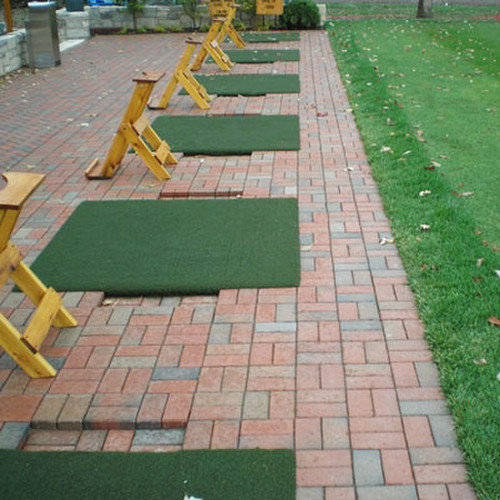
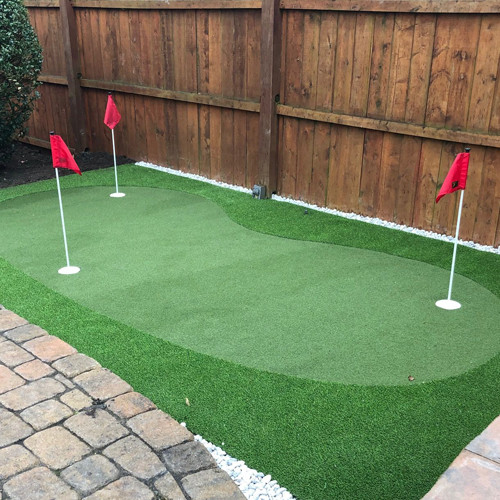
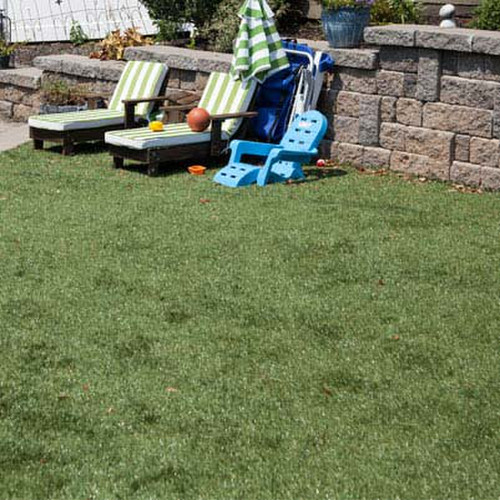
• Home use & Landscape Applications
Our sports turf installation experts have experience designing and installing synthetic turf fields for every type of sports facility, gym, and athletic field imaginable - so we have the experience to help you choose the perfect artificial turf for your own individual needs.
Looking for high performance synthetic turf for competitive sports? We’ve got that. Looking for premium rubber flooring to outfit your gym? We’ve got that too. We pride ourselves on offering turf for a great value - you can buy turf from us virtually for any artificial or synthetic turf related project and stay within your budget.
We offer cheap used turf for sale and we have overstock priced turf options as well. We also have a full line of turf training mats for baseball & softball facilities for sale along with home plate halos, fulfilling all your sport turf needs. With our years of expertise and unmatched quality, its not hard to see why we’re the number 1 choice when it comes to supplying and installing artificial turf.
Need Help Getting Started? Contact one of our sports turf experts today.